12 December, 2011

A Quick Mediterranean Meal


Recently, we went away for the weekend for a wedding. We had a lovely time being away with family and friends, and being able to enjoy the truly beautiful wedding. 

After three days of rich, delicious foods and a long drive back, I was not in the mood to cook anything over the top nor were either of us that hungry. So I raided the fridge for something that was healthy, quick, tasty and light. Not an easy task, but I did come up with something...

3 tomatoes, roughly chopped
1 cucumber, roughly chopped
half of a red onion, diced
1 tbsp parsley
2 tsp basil
1/4 cup olive oil
3 tbsp white wine vinegar
1 garlic clove crushed
1 tsp Dijon mustard
salt and pepper to taste
store bought hummus
1 small jar kalamata olives
Naan bread, heated on the stove and cut into strips
Feta cheese, cubed and tossed with olive oil and choice of herbs (I found this all done for me at Trader Joe's)

So, it looks like a long list of ingredients but its still quick. After chopping the tomatoes, cucumber and onion and putting them in a bowl, I mixed together the parsley, basil, oil, vinegar, garlic, Dijon, salt and pepper in a little jar with a tight fitting lid and shook it really well. Then I poured the dressing all over the veggies and set it aside. I heated the Naan bread on my griddle just enough so that it was warm on both sides and then sliced it into short strips. I put the olives and feta into their own little bowls and set the table. I had bought a sample pack of four different hummus flavors so I just put the whole container right on the table.


The whole set up took about fifteen minutes and it was delicious! And again, may I say how much I love Trader Joe's since everything I used here was from that fabulous store!

07 December, 2011

Chicken Tortilla Soup

 
Winter seems to have finally arrived and soup season has begun. Mike loves soup and I don't make nearly enough of them since I'm not really a fan of the broth-based soup. Now, cream-based - broccoli cheddar, baked potato, New England clam, tomato even - those I love. More proof, if proof were needed, that if it's terrible for me, I love it. If it's good for me, it's probably not my favorite. However, I decided to make this soup, even though it's broth-based, because Mike would enjoy it. I'd only have to eat it once and then I could send the rest with him for lunches. I was wrong again. This soup was delicious. As in, still craving it delicious. There are so many dimensions and flavors going on and it's fresh tasting but still warm and hearty and just what is needed on a wintery or rainy day. It was fairly easy as well, which is also right up my alley.

Chicken Tortilla Soup
4 boneless, skinless chicken breasts
2 32 oz cartons of chicken broth or 8 cups water and 6 chicken bouillon cubes
3 large cloves garlic, crushed
2 jalapenos, minced (remove the white part and seeds if you want it to be less spicy)
half white onion, chopped
2 tsp ground coriander
2 tsp cumin
1 tsp paprika 
1 tbsp Goya Adobo spice mix
salt and pepper to taste
4 large tomatoes, roughly chopped
1 medium bag frozen corn kernels
1 small can black beans
1 tbsp fresh lime juice
tortilla chips
ripe avocado
shredded cheddar cheese

Pour chicken broth into a large stock pot and bring to a boil. Add chicken breasts, garlic, jalapenos, onion and spices and simmer for about fifteen minutes or until chicken is cooked through. Remove chicken from broth and allow to cool slightly.  Roughly chop or shred chicken breast. 

Add tomatoes, corn and black beans. Cook for another ten minutes. Return chicken breast to pot and continue to cook until chicken is reheated. 
 
To serve,  roughly crush a handful of tortilla chips into the bottom of each soup bowl. Add soup over the top and sprinkle with a little lime juice and cheddar cheese. If desired, add a couple of slices of avocado on top and garnish with tortilla chips. Enjoy!

Sorry for the lack of photos in this post. I forgot to take them while I was cooking and only remembered right before we sat down to eat.

15 November, 2011

Quick but Delicious Pizzas


As I've said before, due to my mother's upbringing, I am a strict believer in making everything from scratch. (Except brownies, I still think good boxed brownies and scratch brownies taste virtually the same)

However, I also know that everyone is busy, including me, and making everything from scratch just does not work for every day living. There are days when you come home from work and have an hour to make something eat and leave the house again. Those days require something quick.  For those days, I usually turn to Trader Joe's which thankfully is near me. They have great stuff. I love them. If you don't have a Trader Joe's near you, though I'm very sorry for you, you can get the ingredients for this meal at the grocery store or a local farmer's market.

For a quick but tasty meal, I sometimes will make pizza with Trader Joe's (or the grocery store's) pre-made dough.

First, I roll out the dough onto my oiled pizza pan. Then I brush the dough with a mixture of 2 crushed garlic cloves and about 3 tbsp of olive oil. Then I'll coat the pizza with whatever "sauce" I want.
Either homemade pizza sauce:

(to make sauce, empty a can of crushed tomatoes into a sauce pan with some crushed garlic, a little cayenne pepper, a touch of olive oil, some basil (fresh or dried), a dash of salt and pepper and about two tsp of sugar. Simmer until it's thickened, about 15 minutes.)


Then coat the pizza with shredded mozzarella and Parmesan and possibly a little pepperoni or crumbled cooked sausage or cooked onions or chopped, cooked pancetta for a little bacon flavor...


OR


I'll spread about a cup of ricotta cheese all over the pizza after the garlic olive oil and then either dot the pizza with broccoli florets and cover with mozzarella or cover the pizza with slices of tomatoes and then mozzarella or my newest favorite is mozzarella and Parmesan with slices of roasted red peppers and onions.


Cook the pizza for about 20 minutes at 350. Another thing I'll do sometimes right after the pizza comes out of the oven is to sprinkle it with a little fresh arugula and some hot sauce and then slice it.

So good...and so fast...and super easy.

04 November, 2011

Cannoli Cupcakes


Last month, I made a cake and cupcake tower for a friend's bridal shower. The detailed post of the cake is here. I was asked to make 48 cupcakes, half would be my standard chocolate recipe (here) and the other half would be cannoli cupcakes. I've never made cannoli cupcakes, I've never even made cannolis so I was a little nervous. I mean, I love a good cannoli but cannoli cream on top of a cupcake? I just didn't know if that would work or be appetizing if it did.  I was very very wrong.

The internet is full of cannoli cupcake recipes. So apparently, this is a flavor of cupcake that the rest of the world is familiar with and that I inexplicably totally missed. After much research, I decided that there wasn't a recipe that I loved from start to finish so I adapted a bunch and made my own.

I liked the idea of having the cannoli cream as filling for the cupcake instead of as icing. I just couldn't see a dollop of cannoli cream sitting sweetly on top of a cupcake without moving. And with the richness of the cream on the inside, I thought that simple, fresh, ordinary, slightly-sweetened whipped cream would be the best icing.

For the cake, I adapted my favorite white cake from King Arthur Flour. Here it goes:

Cake:
2 cups sugar
3 1/4 cups flour
2 1/2 teaspoons baking powder
3/4 cup butter
1 1/4 cups milk
2 teaspoons vanilla extract
4 large eggs

Preheat the oven to 350°F.
In a stand mixer, combine sugar, flour, baking powder, and salt. Add butter and beat at low speed until the mixture looks sandy.  Add milk and vanilla. Mix for about a minute, scraping down the sides of the bowl after to make sure it’s all incorporated.

Add eggs one at a time with the mixer running on low speed. Continue scraping down the sides of the bowl too.

After last egg, add mini chocolate chips and beat for about 30 seconds.


Fill each cupcake liner with 1/4 cup batter and bake for 20 - 25 minutes.

When cupcakes have completely cooled, hollow out the center. I used this nifty little $3 tool from Bed Bath and beyond


but it can be done with a spoon too. Fill each cupcake with Cannoli Cream (recipe below)


Cannoli Cream:

16 oz tub of Ricotta
1 cup powdered sugar
2 tsp vanilla
3/4 mini chocolate chips


Top each cupcake with whipped cream so that the hole is covered.

Whipped Cream

1 pint heavy cream
3 tbsp powdered sugar
1 tsp vanilla

Sprinkle each cupcake with mini chocolate chips.

If you are going to eat these within a couple of hours, keep them in a container in a cooled place. If any longer, I recommend refrigeration.

01 November, 2011

Bridal Shower Cake: Autumn Tree and Cupcakes


Sorry it's been so long. I haven't been idle but I've gotten myself very into crafting lately and have let it completely take over my free time.

Prior to my latest crafting obsession, I was asked to make a cake for a friend's bridal shower. The hostesses of said shower wanted an autumn leafy theme and decided that they wanted a small round cake with cupcakes underneath. Totally do-able. Then they told me the rest. They wanted me to build a tree to sit on top of the cake with a few leaves attached to it and then have leaves all over the cupcakes as if they had fallen off the tree and landed on the cupcakes.

I read somewhere that you should never say you can't do something. Say yes, accept the job and then figure out how to do it later. I don't know if this is an acceptable motto if one wants to live a stress-free life but I followed the advice anyhow.

For the tree, I decided that cereal treats and fondant would probably be the best but it needed something to make it sturdy. So I took a small dowel and wrapped it in wire to make each branch off of the tree and the roots at the bottom. Then I wrapped the whole thing in copious amounts of aluminum foil and made sure that it stood up on its own.


About a month before the shower, I made a trial tree. It took me a few hours from start to finish but basically went without a hitch. Therefore, I concluded that everything would go swimmingly. 

The day before the shower, I packed up all my baking stuff and headed to Mama's for the use of the huge kitchen. First I made all the cupcakes; 24 chocolate (recipe here) and 24 cannoli cream (recipe to come in following post) and then the cake. That was completed quickly enough and without any issues. On to the tree...

Unfortunately, the tree refused to cooperate. This time the cereal treats would not stick to the foil no matter what I did. The stupid tree was made and re-made at least four times and I was very close to angrily throwing the entire thing into my mother's pond. Here it should be noted that my mother should get a medal for most problem-solving patient mother. Without her, that tree would have been in the pond.

Her idea was to wrap the tree in paper towel which we sealed with melted chocolate and corn syrup and then wrap it with the cereal treats. The cereal treats stuck to the paper towel and then we wrapped the whole thing in fondant. Appetizing it is not but it worked! **insert deep sigh of relief**


When the tree was finally finished, we placed it carefully on a plate, wrapped it in plastic wrap and packed it very carefully in a large plastic bin surrounded by crumpled newspaper. With the bin and six containers of unfrosted cupcakes, I headed to the site of the shower. Fortunately, I was able to leave all the cake and assembly necessities at the shower site the night before.


The day of the shower, I assembled the whole cake tower. Tree placed on top of cake ... hold breath while letting go... and, blessed relief, it stayed standing!! Then onto the decorating, which is the most fun part of anything. Some frosting grass and flowers added to it made it really feel like a tree in a meadow.


Oh, I forgot, I also discovered the joys of working with gum paste. Gum paste is like edible clay. It is so much fun to work with. Using gum paste, tinted with food colouring, I made autumn leaves, flowers and two little lovebirds in a nest for the top of the tree.

The quarter is for size comparison. It did not go on the cake.

Nesting birdies


And Voila!


I am very glad that I said yes to this project and that my friends gave me such a challenge. Without their challenging me, I don't know if I would have ever thought of doing this. Thanks to them... and Mama of course.

* I have to just say that the tree was supposed to have six branches, three major branches and three small ones off of the major ones. I forgot to add the three small branches and I cannot tell you how irritating that is to me every time I look at a picture of the tree. Just for me, so I can sleep at night, try to imagine it with six branches. Thanks

07 September, 2011

Buffalo Chicken Wontons

Yum, yum, yum!
Confession: I have a minor obsession with Buffalo sauce. I love it, whether it be on chicken wings, pizza or nachos, I love it. Recently, my husband and I sampled this delectable vehicle in which to enjoy copious amounts of buffalo sauce. I mean, what could be better then a fried little pouch of creamy chicken-y goodness with just the right amount of buffalo sauce? I simply had to recreate this while on vacation and did so with the great help of a junior cook.  And it was definitely worth it. They were a huge hit with everyone in the house and completely disappeared quickly. Even the most picky of the group loved them.

Buffalo Chicken Wontons
Filling:

2 boneless, skinless chicken breasts, cooked and cut into quarters
3/4 cup cream cheese
1/2 cup blue cheese crumbles
2 - 3 tbsp ranch dressing, plus more for dipping
1/4 cup - 1/2 cup Frank's Red Hot Sauce
salt and pepper to taste

Other ingredients:
oil for frying
1 package wonton wrappers
ranch or blue cheese dressing for dipping

Combine ingredients in a food processor and pulse until mixture is of desired consistency. It shouldn't be overly mushy or the consistency of soup but it shouldn't be overly chunky either. Sneak a taste, or two, about now to determine if you want to add more hot sauce, ranch dressing, salt or pepper.

Perfect consistency


In a large saute pan, heat oil over medium heat. There should be enough oil in the pan to come up the sides of the pan about an inch.

Retrieve a wonton wrapper and fill it with a heaping 1/2 tbsp of filling.


Seal the edges of the wonton by rubbing all edges with a little warm water, using your fingers, then fold the wonton in half to resemble a triangle and press edges down well.

Drop wonton triangle in oil and fry for a couple of minutes, turning once to ensure browning on both sides. Remove from oil and allow to drain on paper towels. Repeat with remaining wontons.


Serve warm with your choice of dipping sauce. Enjoy these. I am.

09 July, 2011

A Bridal Shower Plan

gifts, gifts, gifts

I love weddings. More especially, I love helping to plan weddings. Planning my own was one of the great joys of my life. It was exciting and fun and just plain delightful; not to mention that the actual day went perfectly; my bridal party - the best friends we could ask for and I got to marry the man of my dreams. What could be better? Okay, stop gagging. It's true. However, since my wedding has since been long over, I content myself with being available to help friends, if they so choose, with their own weddings.

Recently, I was asked to be in a wedding and to help plan the bridal shower and I thought: why not do a blog post? Lots of people plan showers all the time and sometimes it's nice to see how other people are planning them. In my own research, I found that I could not find a comprehensive step by step plan of someone's bridal shower. Plus, it is remotely connected to food. There is usually food at a bridal shower. So here it goes. This is how I plan a shower:

First, decide who is going to be the coordinator. Too many people in charge makes for a mess so there needs to be one person that is fielding the ideas and opinions and handling the final decision making and planning. This person is usually the maid of honour but if there isn't one, then someone needs to step up and be the go-to person. If you're that person, your job begins now.


Get in contact with the other bridesmaids, the mother of the bride and the groom. Ask them for their opinions. Though the shower is usually thrown by the bridesmaids, some moms do like to have a little bit of a say on what goes on at the shower. The groom may also have thoughts or ideas especially if the bride may have told him what she wants for her shower. Compile these ideas into the beginnings of a plan.

Decide when and where you are going to have the shower. In this case, we had it at my mother's house because she's awesome and let us, even though she knows it's going to make a mess of her clean house. (I think I've told you all about my mother's tendency towards compulsive neatness) She has a perfect party house: large kitchen area with a good buffet flow, big living room, in case it rains and a large deck that overlooks her enormous fish pond. Very lovely! Not to mention, already clean.

Mama's backyard


Once you decide on a venue, choose a theme. A theme can be anything from luau to the colour pink. There are tons of choices. Like I said, a theme doesn't even need to be super specific, like luau, beach or garden tea party. It can be merely a colour, or mix of colours or something that the bride really loves, like flowers, Paris, art, cooking, etc. For this shower, we chose polka dots. We also chose a colour theme of pink and lime green so as to not get trippy with the polka dots. Too many dots of too many colours could get...weird. Anyway, pick a theme.

Remind the Bride to register. Give her a deadline if she's the kind of bride that needs one and make sure that she gets sufficient registry cards (the little store cards that say, "The Bride has registered at...). The stores want to give you only 25 or so usually, but have her nag them. They will give you more. After all, the cards don't cost them that much to print and they make it back once people buy gifts there. When she's finished, be sure to get those cards from her as you'll need to add them to the invitations. In a pinch, you can also have "The Bride has registered at....(list store names)" printed on the actual invitation.

Next will be getting the guest list and counting how many shower invitations you'll be needing. Small digression here: In my humble opinion, it is tacky and inappropriate to invite persons to the shower that are not invited to the wedding. It's like saying, "We can't have everyone we'd like to at the wedding, but still we want your gifts." Also, those women who are out of state should still get an invitation to the shower. They may want to know where the bride has registered so as to get her a gift anyway and then no one feels like they've been slighted.

You probably noticed that I said every woman. Again, in my humble opinion, I don't think that men belong at bridal showers. I also realize that I am occasionally overruled here but that's what I think. If you are not of my opinion, that's fine. Substitute the word persons for the word women.

End of digression. When you have the list of who is being invited to the shower, choose and order your invitations. If you are getting them printed, triple check your wording and spelling before ordering them. The invitation should include: The bride's name; the date of the shower; the time of the shower; the complete address of where the shower will be given; who they should RSVP to and that person's phone number (which is usually the coordinator of the shower as it makes things easier) the date in which to RSVP by and who the shower is given by (if you choose to add that). Even though you are the planner of the shower, the invite should say given by: and then the names of the bridesmaids. If there are a lot of bridesmaids, just put given by: her bridesmaids instead of individual names. In my opinion, it shouldn't say given by: the planner's name. Every bridesmaid is helping to throw the shower so every bridesmaid is giving it. While on that subject, be sure to continue to ask the bridesmaids for their opinions with regard to venue, theme, invites etc. You want to make sure that everyone feels included. Granted, you won't be able to use everybody's ideas and not everyone will have the last say but nonetheless, they should feel included.

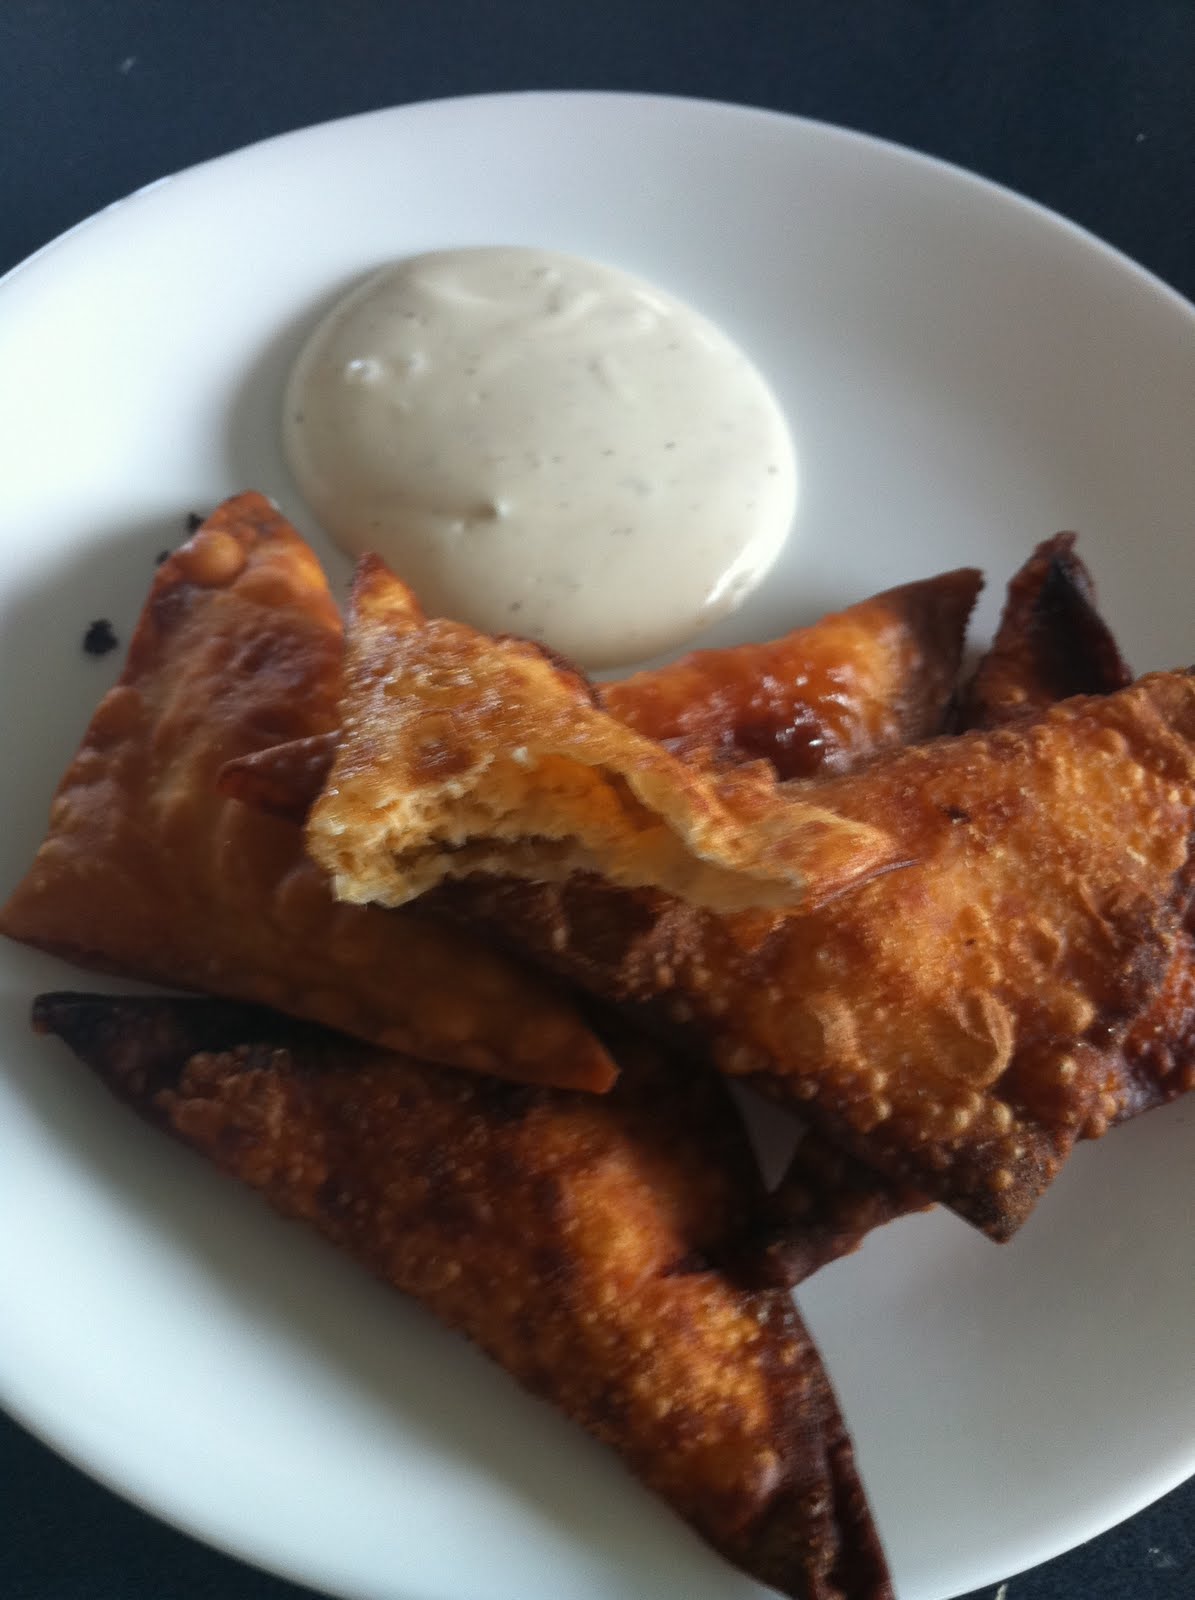
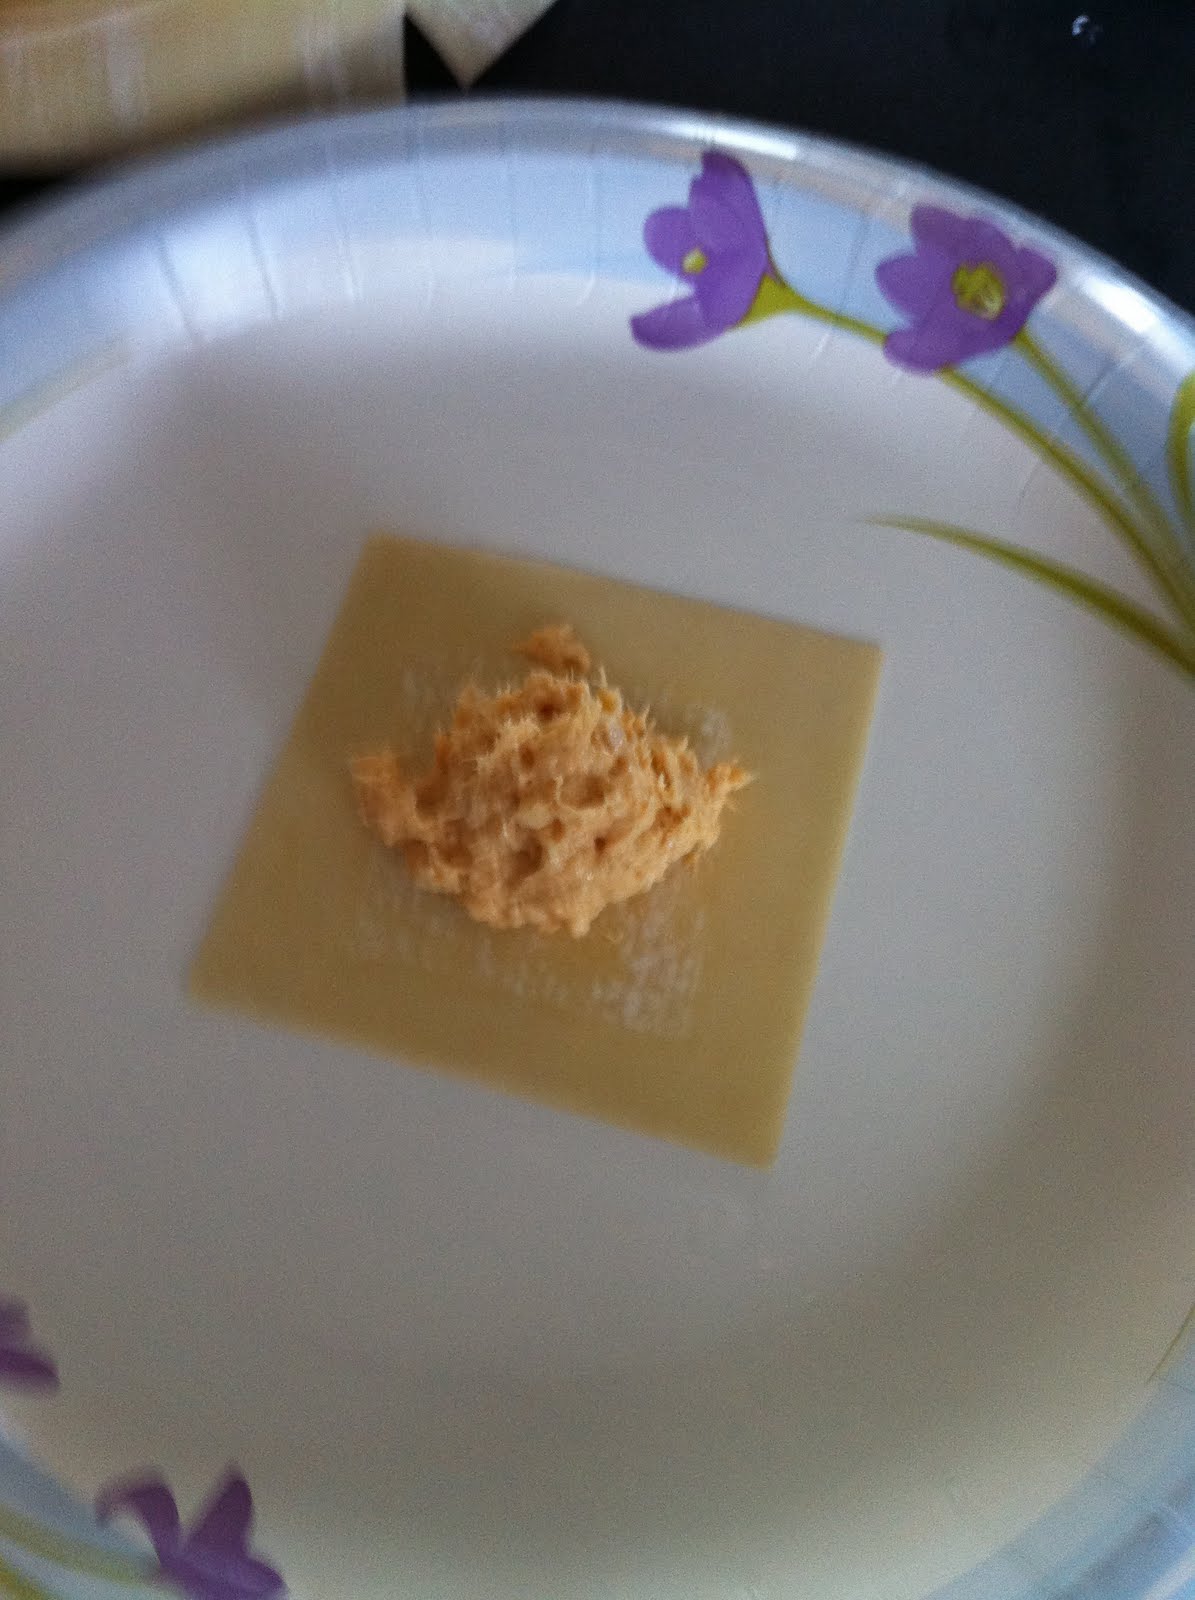
Once invitations have been ordered, start putting together a menu. If you are going to have it catered, choose a caterer and discuss with them the menu. If you are going to have people make food, deciding on a specific menu saves time and confusion later. Since we decided to have the shower in the afternoon, we did finger foods and desserts. Since it was a polka dot theme, we tried to choose items that were circular, if available. Below is the menu:

Finger Foods:

Veggie Platter
Fruit Platter
Chips and Dip
Bruschetta and Bread
Bagel Wedges with Dip
Cracker and Cheese Platter
Cheese Balls and Crackers
Guacamole and Chips
Deli Meats Platter with Rolls
Deviled Eggs
Other Varied Appetizer-y foods
Polka dots!

Desserts:

Cupcakes and Cake
Strawberry Soup
Cheesecake
Almond Cookies
Chocolate Chip Cookies
Fruit Tarts

Drinks

Water
Sodas
Iced Teas
Coffee

Misc. Extras

Ice Cubes with raspberries and mint frozen inside


Invitations have now arrived and are subsequently stuffed into envelopes with the little registry cards, addressed, stamped and mailed. Be sure to keep good records so that you know that everyone that was supposed to get an invite, did. Also, keep a good record of who has RSVP'd. This will help later. Some people when they RSVP, may ask if they can bring something in the food line. Be sure to have your menu list ready and the list of who is making what so that you can tell those incredibly kind people that you already have a veggie platter coming but if they would like to bring a fruit salad that would be greatly appreciated. Another thing you can do is ask them what they enjoy making that fits in with what kind of menu you are doing. Many people have a special dish that they'd love to make.

Now is a good time to think of shower favors. Keep in mind that favors can get expensive so if you're even a little craftsy, you may be able to save yourself some money. For example, at another shower, we made bookmarks (since the bride is an avid reader) and silk flower topped pens. At my cousin's shower, we found cute inexpensive tins and filled them with jellybeans.At my own shower, my girls gave away candles, which some people still have some years later. For this shower, in keeping with the polka dot theme, we found gourmet lollipops and tied pink and green ribbons around them. The post on how to make a stand for the lollipops is forthcoming. Whatever you decide on, make sure that you have the favors arranged well before the shower so that you aren't swamped with things to do the day of the shower.


By now, RSVP's will be flowing in, one hopes. Keep in mind that you will have the complete spectrum of people, from the people that RSVP the moment they receive the invitation in the mail to the people that never respond even after you've called them twice to remind them. It's just how people are. As I said before, keep good records of who is coming and who is not and who hasn't called yet. When the "RSVP by" date has passed, enlist the mother of the bride's help in contacting those that haven't RSVP'd yet to track them down. Count how many you have coming and make sure that you will have enough food, enough chairs and enough favors for all.

With the other bridesmaids, decide on how you are going to decorate. Also decide on who is going to get the needed paraphernalia: plates, cups, hot cups, flatware, tablecloths, balloons, streamers, table centerpieces, napkins, etc. Make sure that whenever something is bought for the shower, the coordinator gets the receipt so that after the shower, the cost of the shower in entirety can be split evenly between the bridesmaids. (Enlist the help of whomever is the best at math, not me in this case.)

When all the the paraphernalia has been purchased and all the the decisions made, it is time to sit back and wait for the day to arrive.

On the day of the shower, have all the bridesmaid arrive earlier to help set up. Decorate the place, set up the tables for food, drinks and gifts. Decide where the bride is going to sit to open gifts. Make sure that she will be easily seen by everyone wherever she sits. As the food, drinks and gifts arrive, set them on their appropriate tables. When the bride arrives, have her get a plate of food and start eating and then have everyone else get their plates. I find that people seem happier when the bride starts opening her gifts right away as they are all eating. It gives everyone something to do while watching the opening of gifts. Before the bride starts opening gifts, ask her to pick a bridesmaid, preferably one with good handwriting, to keep track of who has bought her what in a notebook or sheet of paper that she won't lose. This will help make writing thank you cards much simpler later.

After gifts are opened is a good time to introduce the dessert course and encourage people to mingle and chat with each other. When people start to leave, be sure to thank them for coming and for their kindness and generosity (particularly if they were kind enough to bring food) and remind them to take a favor as they leave.

Pack the bride's car with her gifts and be sure to clean up the venue, attempting to leave it cleaner than you found it. In our case, we cleaned it. It is not humanly possible to leave my mother's house cleaner than you found it but we did try.


The shower was a great success. The bride had a wonderful time and we had plenty of food. The weather was nice and everyone loved having it at my mother's. Thanks to the girls and the mother of the bride for all their help!

Thank you also to the girls whose photos I used in this post since I never took any of my own.

And thank you to my mama for letting us have it there. Everybody loved it, the bride especially. Thanks Mama!

I hope your own shower planning goes beautifully. If I can help in any way, please leave me a comment. I'd be glad to.

Happy planning!!

16 May, 2011

Ratatouille (my quick version)

Ingredients and a cup of tea


I realize this is more of a winter meal but spring can have its chilly days too when you want a hearty bowl of something warm and mildly spicy that doesn't take all day to make. This would be that kind of meal. If you prep the veggies earlier, it's even faster.

The recipe calls for garlic and onions. Of course, as I began making this I realized that I was out of both of those. So I substituted garlic powder and onion powder. Granted, the dish tastes far better with the actual garlic and onions but in a pinch, powder works.

Ratatouille

2 tbsp olive oil
2 cloves garlic, crushed
1 medium onion, diced
1 medium eggplant, peeled and cubed
1 yellow squash, cubed
2 zucchinis (or as my grocery store insists on calling them: green squash), cubed
2 bell peppers, seeded and cubed
1 package sliced mushrooms
 1 large can diced tomatoes
1 tbsp basil
1 tsp thyme
3/4 cup good red wine (if you wouldn't drink it, don't cook with it)
1 package Italian hot sausage

In a small saute pan, cook sausage over medium heat until cooked through.

Meanwhile, in a stock pot, combine olive oil with garlic and onions. Cook over medium heat until onions are golden and garlic is fragrant (about 2 minutes) Add eggplant, squash, zucchini, bell peppers and mushrooms. Stir to combine and cook for two minutes more. Add can of tomatoes, red wine, basil and thyme. Stir, cover and simmer for about fifteen minutes, stirring occasionally.


When sausage is cooked through, slice into bite size pieces and add to stock pot, stirring well, remove cover and simmer for five more minutes.

When veggies are soft (after about twenty minutes) and stew is fragrant, remove from heat.


Serve as is, or covered in Parmesan cheese or over rice. This could even be tossed with angel hair pasta. It's very versatile. According to Mike, it also makes a great lunch the next day.

14 May, 2011

"Alice in Wonderland" Inspired Tea Cabinet


I love tea and teacups and teapots, and Alice in Wonderland. My husband loves woodworking and making things for the house. Those two loves translated into something amazing. He made me a tea cabinet that hangs on the wall and holds twelve different kinds of tea in twelve individual drawers. Each drawer has a glass front slot that holds one tea bag so that you can see what tea is in each drawer. Then there is a shelf on the top for a teapot and saucers and four hooks on the bottom for the teacups.

Usually when he makes something for the house, it is left natural or lightly finished to show of the wood. This time though, he left it blank, as it were, for me to paint however I wanted. This terrified me.

I am not really an artist and I've never been really sure of myself with paint. The idea of painting this beautiful piece of furniture made me really nervous. After much thought and consultation with a very good friend, I just went for it. At worst, I figured, I could always paint over it again.

Being that it was for tea, I wanted an Alice-y theme to it but I didn't want it too theme-y. For instance, I didn't want it emblazoned with busts of every character from the Wonderland books.  I wanted it to be subtly Alice. So I chose Harlequin black and white diamonds for the backs of both shelves; pink stripes for the sides reminiscent of the Cheshire Cat from the Disney version, and Alice blue for the shelves and front.

Below are the photos of the transformation:

My painting setup

Maximus is supervising.


A cup of tea for inspiration.

Marking the edges with painters tape, Callisto is supervising here.

Marking out the white tiles with tape.

Painting the black tiles.

Marking for the pink stripes.

Stripes finished.
And here is the finished product!


19 April, 2011

Homemade Chicken Nuggets with Dipping Sauces and Fried Plantains

Recently, we went to an electronics/media/appliances superstore. While wandering aimlessly about in the appliances section (day dreaming about what great things I could make with all these new kitchen gadgets) I stumbled across a fairly expensive oven. I was so shocked when I looked at the 'control panel' part that I took a picture of it.

Notice the top middle button?


What kind of society are we living in that we have to have a button on our oven for frozen chicken nuggets? Seriously? When I showed Mike, he said I should do a blog post of homemade chicken nuggets and corresponding dipping sauces.


Shortly thereafter, while talking to a friend of mine, she told me that her eleven year old son wants to eat nothing but fast food chicken nuggets and fries. So I told her about Mike's idea for a chicken nuggets blog post and I told her I'd post it ASAP for her son. Maybe he'll appreciate the homemade more than the fast food. Not only is it better for you but you can play around with making your own personal dipping sauces too.

Instead of the traditional french fries that goes with chicken nuggets, I made fried plantains. Plantains are those dark green large bananas in the grocery store. I had these at a Cuban restaurant once and immediately came home and tried to make them myself; they were that good! Why not try them instead of fries? Maybe the kids will like them even better. And if not, well, more for you.

I did add a salad to this dinner, to counteract the fried foods.


Homemade Chicken Nuggets

1 package organic chicken breast tenderloins
1/2 cup flour
2 eggs, beaten
1/2 sleeve of Ritz Crackers
1/4 tsp onion powder
1/4 tsp garlic powder
1/2 tsp cayenne pepper
olive oil

In a heavy saute pan, add enough oil to cover the bottom. Heat on medium low heat.

In a food processor, add Ritz crackers, onion and garlic powders and cayenne pepper. Pulse until crackers are small crumbs. Pour crumbs into a shallow dish or bowl.


In another bowl, add flour and in a third bowl, add the eggs.


Remove chicken tenderloins from package and cut them in half. Coat each chicken piece in flour first, then egg, then cracker crumbs. When each piece is completely coated with cracker crumbs, place piece carefully into saute pan with hot oil. Repeat with all chicken pieces.


Cook chicken until golden brown on each side and fully cooked through. This will vary depending on your stove, pan and thickness of the chicken.

Remove chicken to a plate covered with a paper towel and allow to drain off excess oil.

Serve with your choice of dipping sauces.


Sweet Chili Dipping Sauce

1/2 cup white wine vinegar
1/4 cup orange flavored vinegar
1/2 cup sugar
2 large garlic cloves, crushed
1/2 tbsp red pepper flakes
1/2 tsp chili powder

In a saucepan, combine vinegars and sugar (if you don't have the orange vinegar, you can use 1/4 cup of white wine vinegar or apple cider vinegar instead). Heat to boiling, then turn heat down and allow to simmer about 5 minutes. Remove from heat and add garlic, red pepper flakes and chili powder. Stir well.

Honey Mustard Dipping Sauce

5 tbsp honey
3 tbsp Dijon mustard (I like Grey Poupon)
2 tbsp white wine vinegar

Combine all ingredients in a small bowl. Mix extremely well.

Spicy Ketchup

1/2 cup ketchup
1 or 2 tbsp of your favorite hot sauce

Combine both in a bowl and mix well.


Fried Plantains

2 plantains, peeled and sliced into 1/4 inch rounds
olive oil
salt

First off, the way you peel a plantain is this: cut off each end. With a sharp knife, slice one side of the plantain just through the skin from top to bottom. Using your finger nails or the tip of a knife, pry apart the skin and peel off.


Add enough olive oil to a frying pan to coat the bottom. Heat on medium heat. When oil is hot, carefully add sliced plantains to pan. Cook 2 minutes on each side.

Cover a cutting board with paper towel. Remove plantains from oil and arrange on cutting board. Cover with paper towel. Using a mallet, flatten each plantain. Return flattened plantains to hot oil for 1 minute on each side.


Remove to a plate covered with paper towel to drain excess oil and sprinkle with salt.

Enjoy.
 
Miss Adventures in a Tiny Kitchen. Design by Pocket